WEEK6
26/10 10:00 – 13:00
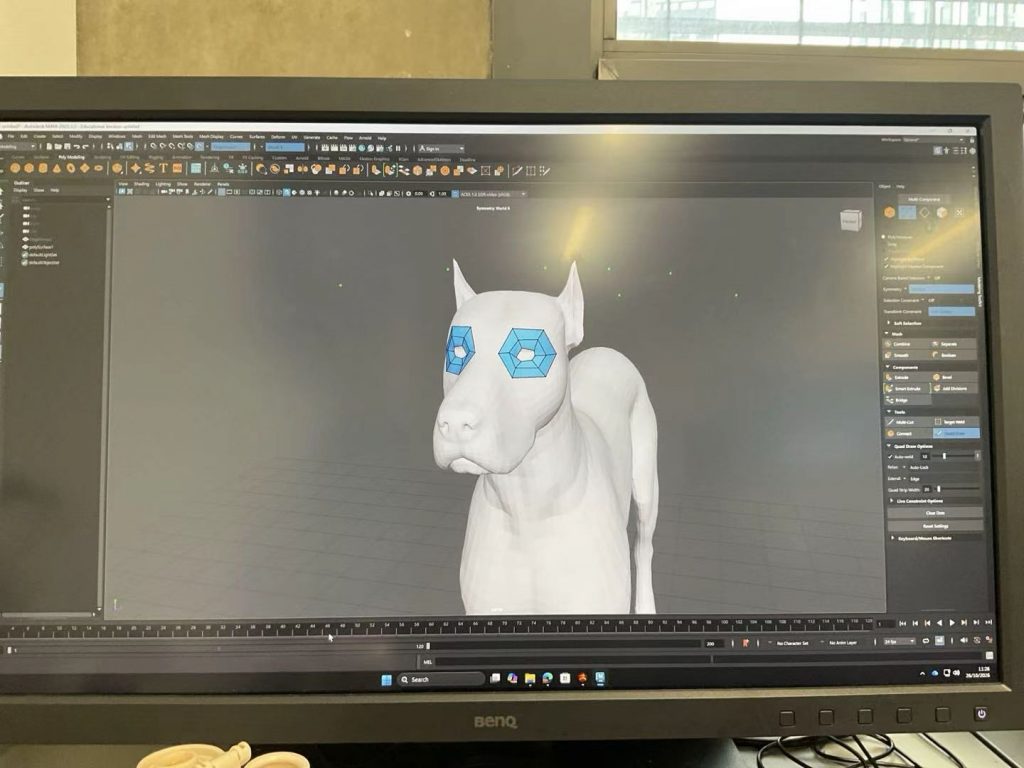
ZBrush Basics and Maya Retopology
| Action | Shortcut |
|---|---|
| Rotate view | Left-drag on empty canvas |
| Pan view | Alt + left-drag on empty canvas |
| Zoom view | Alt + left-drag, then release Alt while still dragging |
| Frame model | F |
| Show polygon wireframe | Shift + F |
| Open brush palette | B |
| Smooth | Hold Shift |
| Mask | Hold Ctrl |
| Invert brush effect | Hold Alt |
| Brush size | S |
| Brush intensity | U |
| Symmetry | X |
DynaMesh
- Purpose: Rebuilds the mesh with evenly distributed polygons
- Use: Early-stage blocking and large shape changes
- Benefit: Reduces stretching after heavy sculpting
- Location: Tool > Geometry > DynaMesh
- Key setting: Resolution controls mesh density
- Update: Ctrl + drag on empty canvas to remesh
ZRemesher
- Purpose: Automatically generates cleaner, quad-based topology
- Use: Simplifying a sculpt and improving its edge flow
- Location: Tool > Geometry > ZRemesher
- Key setting: Target Polygons Count controls the approximate polygon count
- Limitation: Automatic results may still need manual cleanup, especially for animation
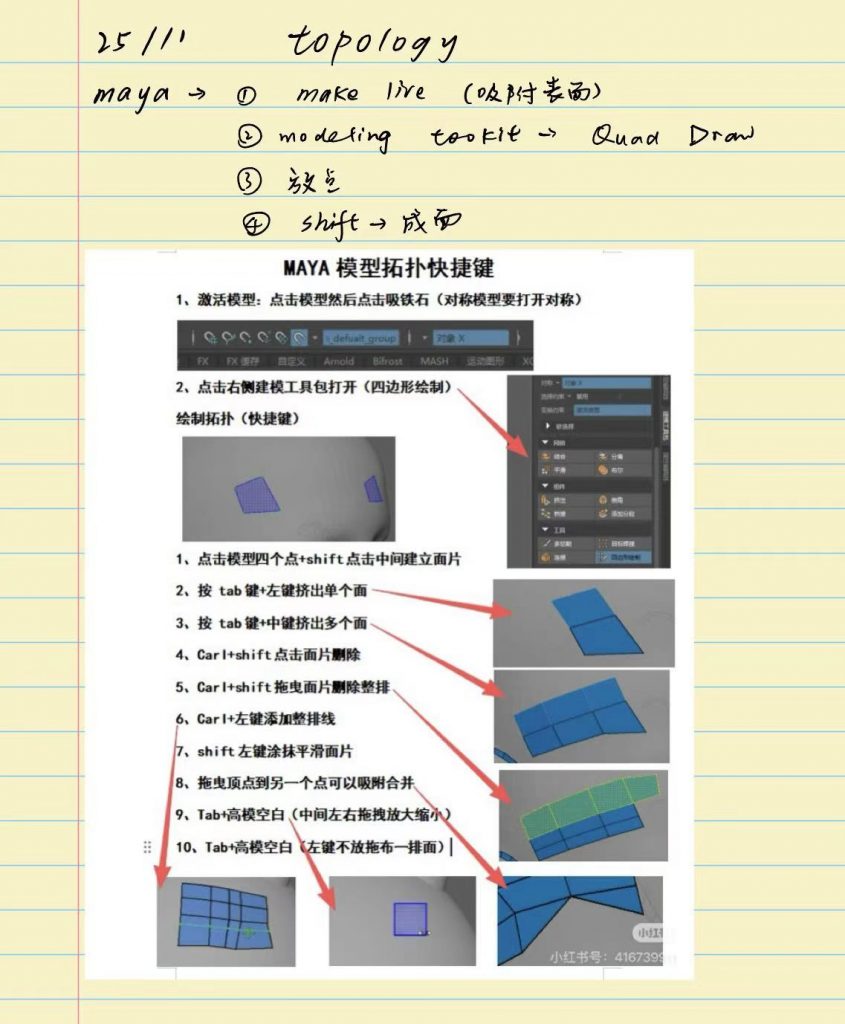
Retopology in Maya
- Purpose: Rebuilds a dense sculpt as a cleaner, lower-poly mesh
- Why it matters: Clean topology makes UV unwrapping, baking, rigging and animation easier
- Tools: Make Live and Quad Draw
- Good practice:
- Use mostly quads
- Keep polygons evenly distributed
- Follow the form with edge loops
- Add supporting loops around joints
29/10 17:00 – 21: 00
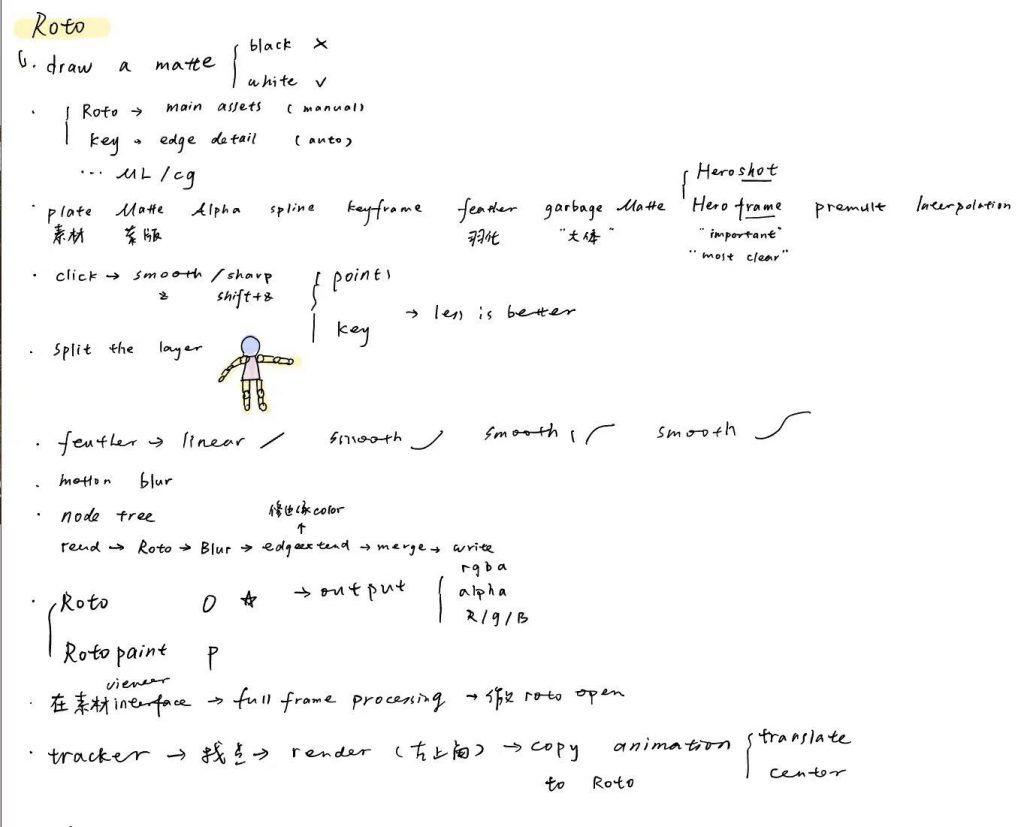
NUKE ROTO and TRACKER
WEEK7
02/11 10:00 – 13:00
Maya Modelling and Rigging Basics
Maya Fundamentals
- Learned the interface and core tools
- WER_move/rotate/scale
- Hide_H
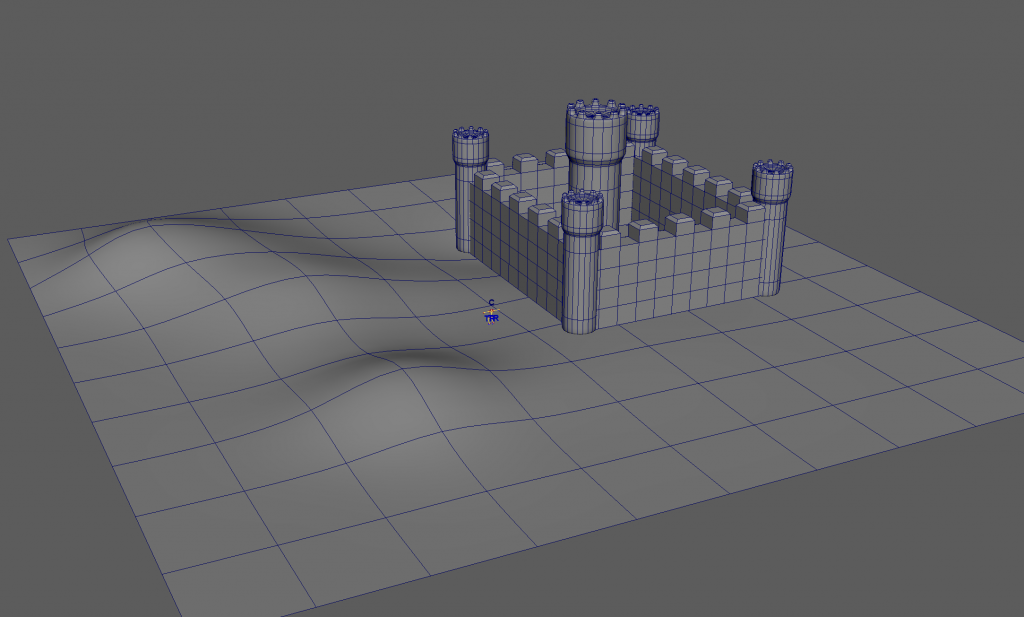
Castle Wall Modelling
- Tools: Extrude, Bevel
Landscape
- Tool: Soft Selection_B
- Method: Edited vertices to create uneven terrain
Character Blockout
- Workflow: Cube → Subdivide → Extrude
- Approach: Overall form first, then details
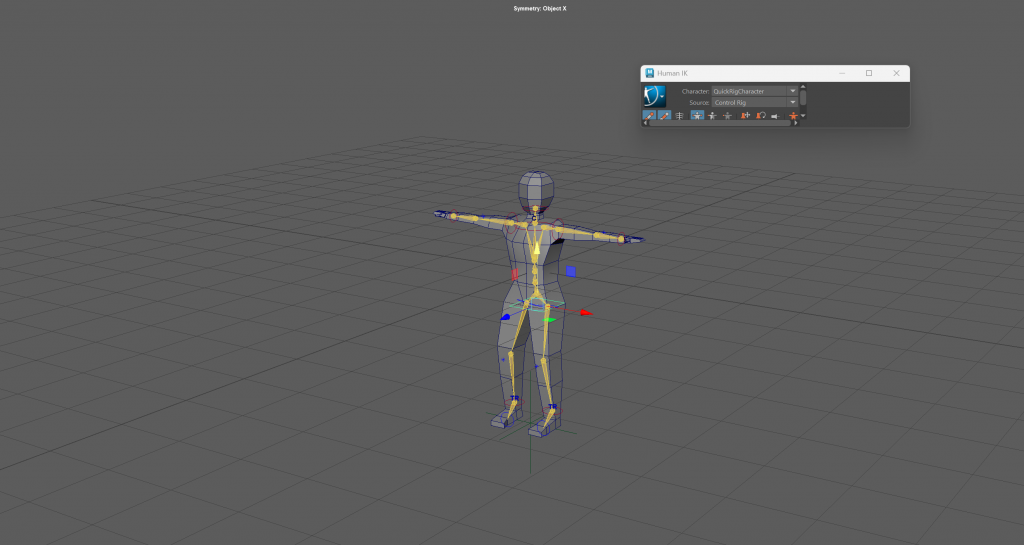
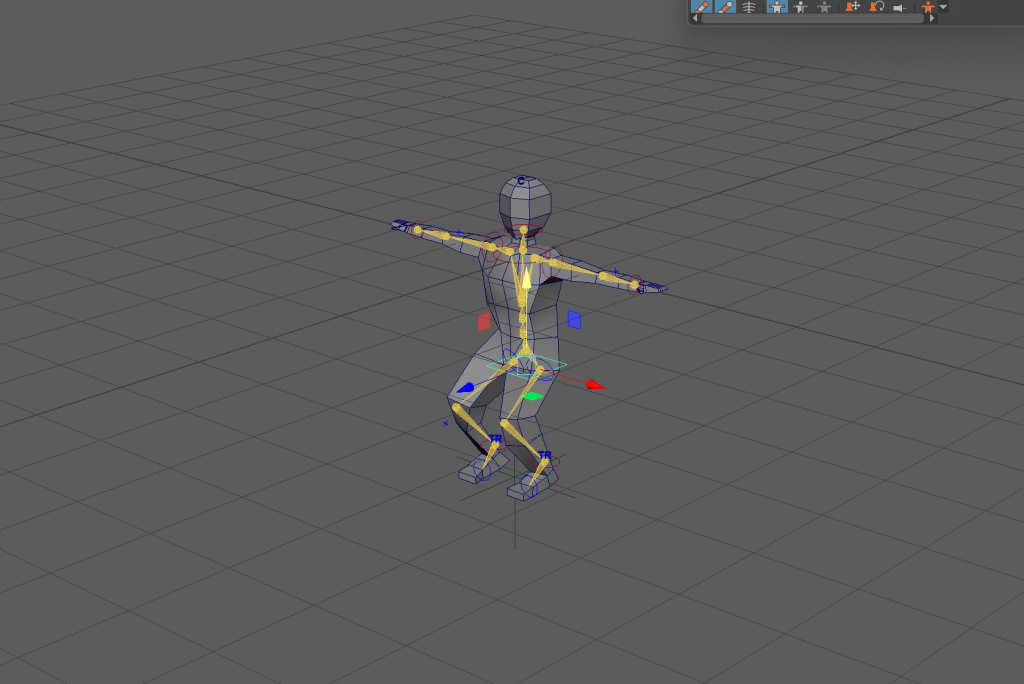
Rigging
- Tool: Auto Rig
- Purpose: Tested model quality through rigging
- Note: The character must face forward
02/11 14:00 – 17:00
Water and Foliage Systems
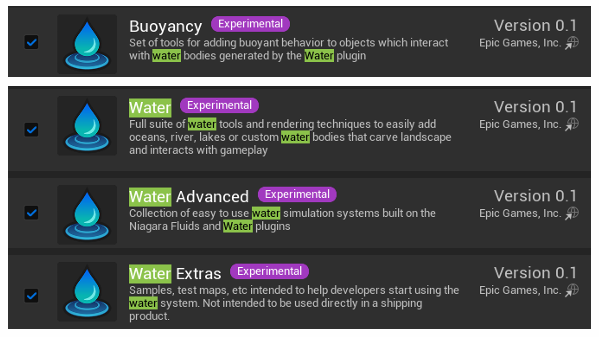
Water System Setup
- Water plugins
- Water Body types: Ocean, Lake, River
- Water Zone: controls shared water properties
- Water Brush Manager: supports terrain carving
Water Adjustments
- Ocean: matched Zone Extent and Ocean Extents
- River: edited spline points, depth, width and velocity
- Waves: adjusted Gerstner Waves, Wave Attenuation Water Depth and Max Wave Height Offset
- Terrain: adjusted carving and blending with Curve Settings, Falloff Settings and Effects
- Shallow Water River: lightweight Niagara 2D fluid simulation
Water Material
- Material: Single Layer Water
- Workflow: copied material instances to the project folder and added the
_localsuffix - Colour: Absorption, Scattering
- Detail: Caustics
Foliage Workflows
- Foliage Tools: manual painting with high artistic control
- Landscape Grass Type: automated, material-driven groundcover
- Procedural Foliage Spawner and Volume: large forests and biome transitions
- Procedural Vegetation: graph-based vegetation creation
Foliage Optimisation
- Culling: hides foliage that is out of view or too far away
- LOD: reduces detail with distance
- Console commands:
r.RayTracing.Culling 0r.RayTracing.Geometry.InstancedStaticMeshes.Culling 0foliage.ForceLOD 0
- Assets: low-poly for backgrounds, high-poly for hero shots
- Monitoring: checked performance with Show FPS and Show Stats